Sail Pack/Lazy Jacks Part 2
 Welcome to part 2 of my sail pack/lazy jack installation. Part 1 can be found here. Now that the pack was made, it was time to splice the lazy jacks. I got three 50 foot 1/4 inch Dyneema ropes from Amazon. They were designed for truck winches, but they were less than $40 each. Then I got two 100 foot 3/16 Dyneema rope from West Marine. I’m not expecting a ton of stress on the lazy jacks. I got 6 low friction rings from Mauripro out of Florida, mainly because they had 6 of them. You’d be surprised how few places have these, at a reasonable price.
 Anyway, I am following the design from Sailing Uma. In retrospect, I should have installed 8 D shaped locking keyrings to the lower parts of the lazy jacks. This way I could have used the locking splice on those, as well as making them removable. Oh well. This would have also been helpful, when I went to take a look at everything stretched out, and realized that I had flipped two of the lines, and had to redo them. Luckily, I’ve gotten pretty good at splicing, and Dyneema is super easy to work with.
 Now that I knew everything was lined up and pretty, it was time to head over to Polerys. The first order of things was to install a cleat on the front of the mast, to which the lazy jacks would mount, so I could lower them if needed. This was easy, and I was done pretty quickly.
 Since my car can’t fit 20 foot long PVC pipes, I had to cut them into 5 foot sections. That meant that now I had to glue them together with couplings. This also was pretty easy. They slid right into the pockets. Then it was easy to cut them to size.
 When sewing the sail pack, I forgot to include the dacron in the edges of the batten pockets to protect from chaffing. As a sort of fix, I cut some 4 inch by 6 inch pieces of the dacron, slid them into the pockets, and then will sew through them when I sew the pockets closed. Hopefully that will be enough.
Don’t worry. They won’t always hang out like that.
 With all of that out of the way, it was time for the fun part. My friend Kaitlin came over, and we started drilling holes for the twist locks. The idea was to rivet them in place. And then my wonderful “nothing every works out for me” policy came rearing it’s ugly head. Turns out the riven gun is too wide to fit all the way down.
A quick drive to Home Depot, and we got a bunch of screws, and started tapping the holes. This worked really well, and we got 5 out of 10 on each side. Enough to get the sail out of the way, making it easier to do the rest. She ran out of time, so she went home.
 The next day, another friend, Dennise, came over to climb the mast and install the pulleys for the lazy jacks. This time, the rivet gun did work. There’s a little bar at the bottom of the pulleys, so the rope doesn’t feed through correctly right now, but I’ll fix that another day.
 Finally, it was time to install the rest of the twist locks. I had 10 more to do. On the second one, I snapped the tap. Another trip to Home Depot, but they only sell full tap and die kits. I paid $25 for mine, and they only had one kit for $120, which is insane. I was able to buy just the tap I needed on Amazon for $4, so I just have to wait for that to show up.
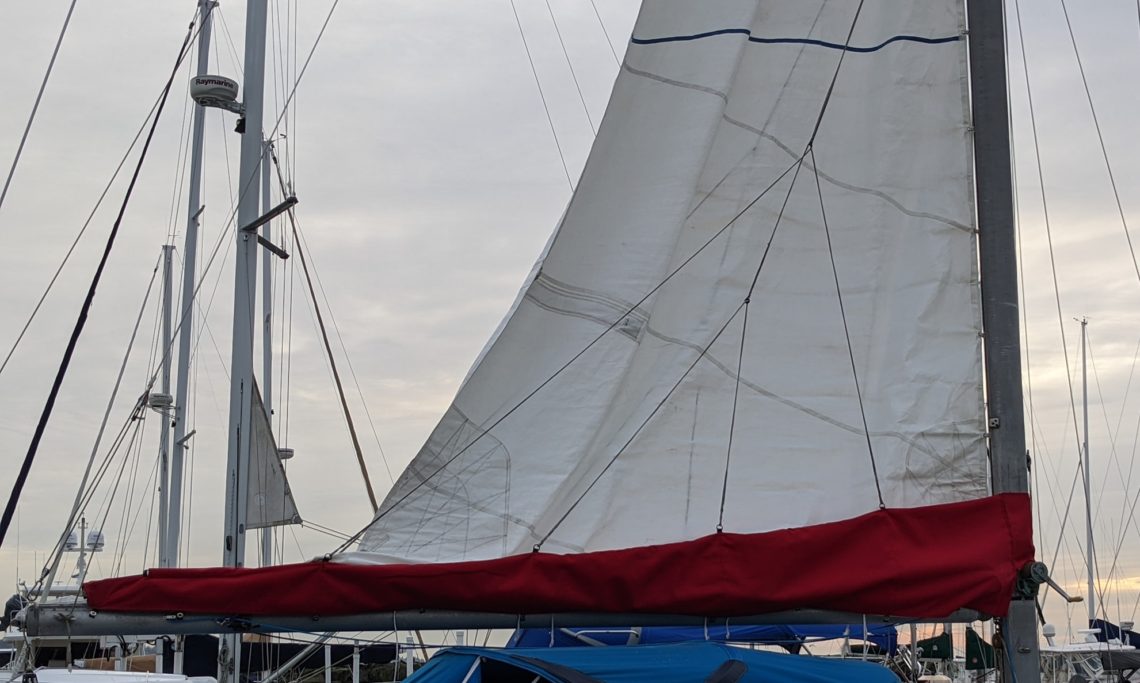
 In the meantime, it’s mounted well enough for now. The next day, by pure coincidence, Blake, who helped me in Part 1, happened to walk past my boat, and instantly recognized it. Oh, and yes, in the picture, one of the lazy jacks is twisted. I have fixed it, but didn’t take an updated photo.
 Thank you to Blake, Kaitlin, and Dennise for helping me with this project.
That’s the first majorish project done. Well, as soon as the new tap arrives.
Chris Dantes
My name is Chris. I currently live in Seattle, though I’m formerly from California. I'm a writer, comic, and superhero (allegedly). I complain. A lot. About everything. I also tell jokes.

