Cabin Wall Rebuild Part 1
Welcome to my personal hell. I’m going to go off on a quick rant, and then I’ll get into the actual project. I purchased Polerys for $18000. At the time, the owner was in another country, locked down, due to COVID. One of her friends showed us the boat. She had scheduled all of the interested buyers back to back, so I was given a 30 minute window. Therefore, I had a limited ability to look at the boat.
The boat was covered in tarps. I figured that it was just them “winterizing” the boat. The engine started right up. There was an old boat smell, but that’s to be expected. Lots of chipping paint. Figured it would be easy enough to sand it down and repaint. Some of the portlights had broken glass. That’s an easy enough repair.
 The reality was much, much, much worse. As I’ve learned over the last few weeks, these boats were designed in an odd way. Instead of a normal fiberglass sandwich construction, the hull and deck are solid fiberglass. The cabin top is wood, with a thin layer of fiberglass on the top. Then for the cabin walls, it was mahogany bolted in place.
There was no fiberglass on the outside of the wood. No fiberglass on the inside of the wood. This was the woody wagon of boats. So when a portlight leaks, or it rains, or waves crash onto the deck, it has nowhere to go but into the wood. Sure, since the wood was sitting on the deck fiberglass, none of that water made it into the deck. Thank Keanu. But the wood became as soft as redwood bark. Over time, previous owners fixed this problem by replacing chunks of the wood. Or injecting foam. Or simply painting over the bad areas.
Here’s my rant. Either the previous owner was completely ignorant of the true condition of the boat, or was deliberately negligent. Now, I want to be clear. If I was less of a novice and knew what to look for, or if I had insisted on a survey, I would never have purchased this boat. Or if I had, I would have offered $5000, which is what the boat was truly worth. Much of the blame is my own for not knowing what I didn’t know. That said, the previous owner severely misrepresented the condition of the boat.
Anyway. It’s my problem now. Let’s move on. One company quoted me $20k to fix it. That was more than I paid for the boat itself. Instead, I purchased $4000 in supplies to do it myself. Also, it was perfect timing with the lumber shortage. $100 for a single sheet of 3/4 inch marine grade plywood. Kill me. This project made me very seriously consider selling the boat, or simply sinking her and calling the loss a learning experience. With some advice from my fake parents, I decided to complete this project, and then decide what to do. Maybe once this project is done, it will feel like I’ve made it over the a huge hurdle, and I’ll decide to keep the boat. Or, if I do decide to sell it, it will be in far better condition, and I won’t lose as much money.


My original plan was to cut out the bad sections, and tab the new wood into the old wood. Then fiberglass over everything so I never have to do this again. Turns out the rot was far worse that even my pessimism could imagine. I calculated it would take 2 months of weekends, and good weather, and some help. Now that I’ve seen how much rot there was, it would have taken me over 6 months, easily. Thus, I made the painful decision to pay for help. It hurt. But, I’m really glad I did. Rick and Jayme really saved the day on this one.


The first step was to cover the boat so that the sawdust and stuff wouldn’t get into the water, and also prevent the rain (yay Seattle) from getting into the boat. Here’s a little story about how my brain works. I grew up dirt poor. So I always look for the cheapest solution. Then that inevitably fails, so I have to do the expensive option, plus I’ve already paid for the cheap option. At first, I found some painters plastic covering from some previous project. That wasn’t nearly enough. Next I purchased $100 worth of plastic rolls. These didn’t work. So finally, I gave in, and got the shrink wrap. The roll was $300 for more than twice as much plastic as I needed. But luckily Rick bought the excess for $150.
Ok. Now we’re ready for the demolition.


 First, I removed the portlights. At this point, I knew I was going to replace them with countersunk acrylic, so I just cut them out with part of the walls still attached. Next, my crew started cutting out the rest of the wood. The more they cut out, the more rot they found.
 Remember how I said that the walls were bolted in place? Well, along the top edge, they actually used screws. Iron screws. I learned during this process that iron and water causes a chemical reaction that damages the wood.
This isn’t termite damage. This is iron rot. Good times, right? Also, what an excellent screw pattern. I think it’s called “eh, just put a bunch more screws in wherever.”


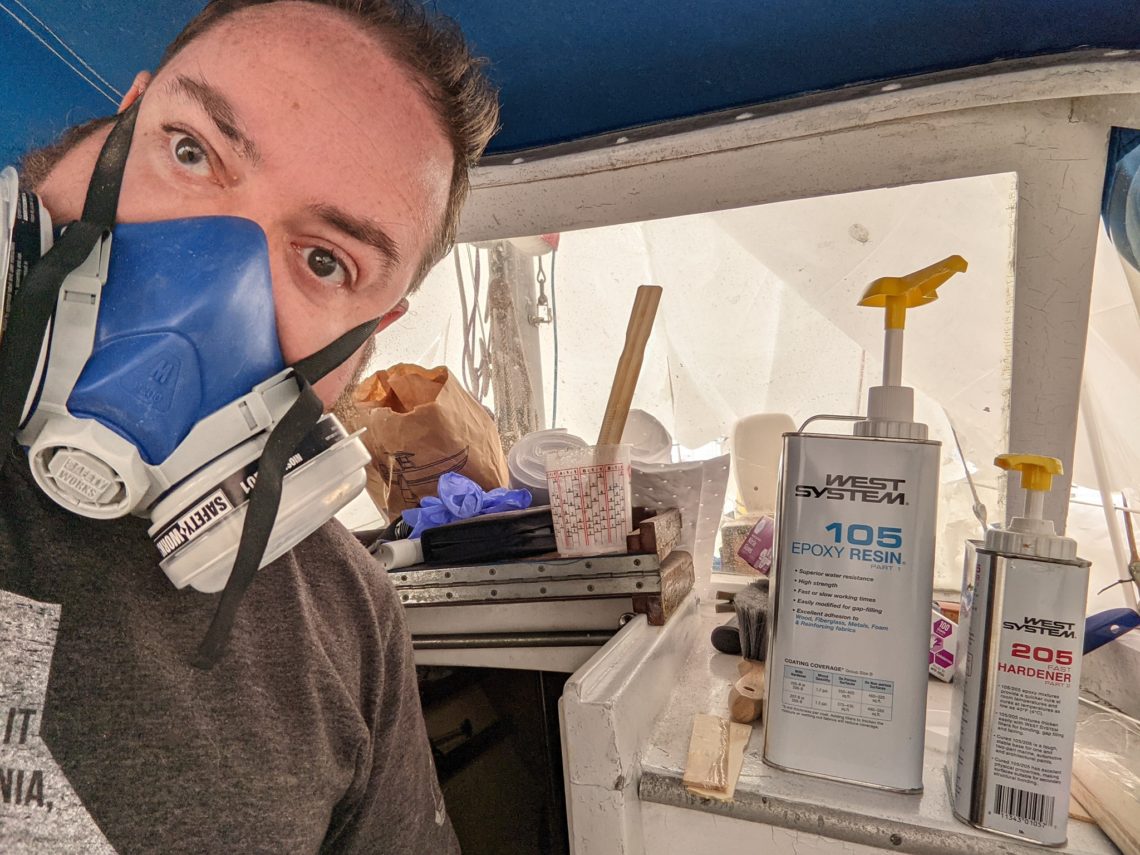
 Due to structural considerations, we had to do it in sections. Also, there’s a slight curve of the walls, so they used some kerf cuts to make the wood more flexible. Thickened epoxy (also, I want to call West Systems 406 “boat coke” from now on) was put in the cuts.


 I ended up being mostly the vacuum wench, while the strong manly men did the construction. But I did keep myself busy by removing most of the carpet from the walls, because putting carpet on walls is totally a normal thing that normal people do. The 60s were weird, man. I didn’t need to remove the carpet for this project, but figured I’d need to do it anyway, and might as well do it now.


I got bronze bolts to attach the bottom. Then screws for the top. After all of the wood was cut to size, and attached, it was time for fiberglassing. Sadly, I had to go to my real job, and missed that part of it.
I’ll have plenty of fiberglass work ahead of me, anyway.


 Meanwhile, I removed the hatch which had some rot, and surprise, surprise, the rot was worse than I expected. The same for parts of the cockpit.
Next, we found out that some of the hand rails on the cabin top were leaking. So I removed those, and filled the holes with more boat coke.
 The rest will have to wait for the next entry. I still have to fair and sand and sand and primer and sand and paint. But I can’t do that in the marina, so I need to schedule time in a boatyard. For now, I’ll apply the fairing compound and primer it, to protect the fiberglass from the sun. I can work on the cockpit until then. I also have a bunch of places that need more thickened epoxy.
Part 2 of this will be in a few months. Once again, thank you so much to Rick and Jayme for the help, and being fun to work with.
Chris Dantes
My name is Chris. I currently live in Seattle, though I’m formerly from California. I'm a writer, comic, and superhero (allegedly). I complain. A lot. About everything. I also tell jokes.


One Comment
Pingback: