Cabin Wall Rebuild Part 3: Mostly Sanding
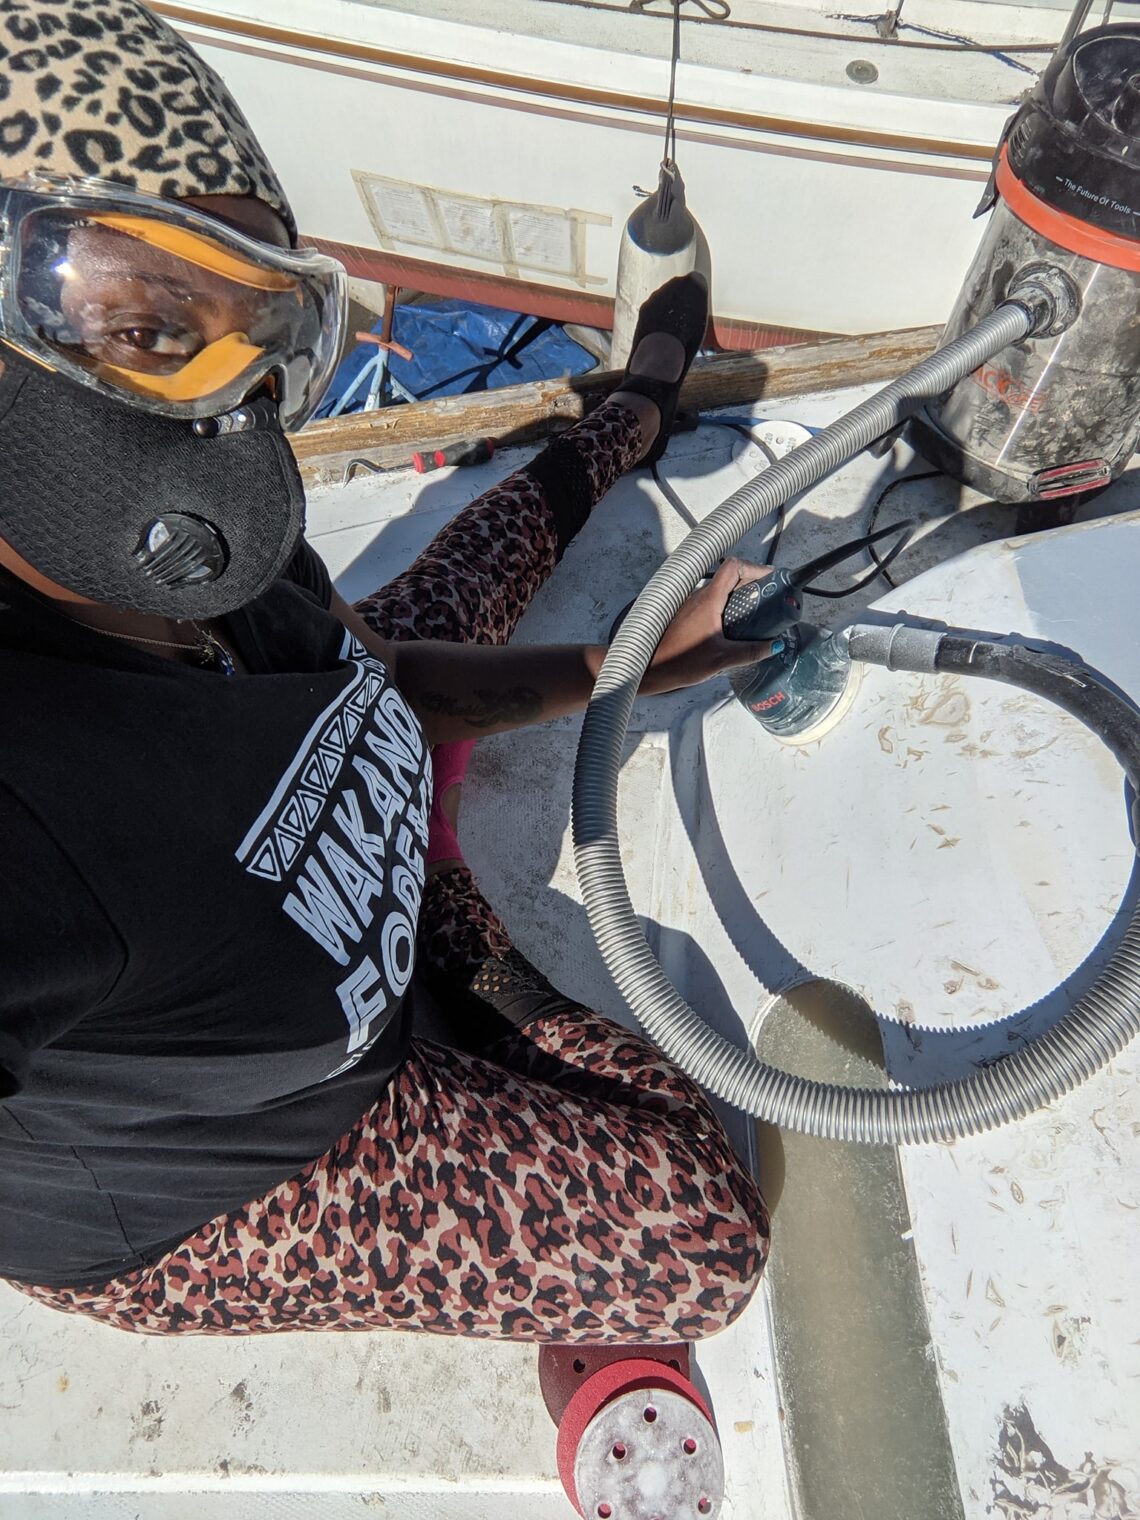
When last we checked, I had applied a thick helping of fairing to the cabin walls. Now that we are in the boatyard, we can sand it smooth. This took a really long time. Luckily, Lauren found it hypnotically relaxing.
 Meanwhile, I kept myself busy with other things. We removed the stanchions and random deck hardware. I don’t like the idea of needing two people to remove things like this. It’s a huge hassle. So I came up with the idea of welding bolts onto the stanchion bases, so I could just shove them in the holes, and tighten the nuts from below.
 Ian handled the welding. Then I had a dumb/genius idea. I don’t like chrome. It’s too reflective and hurts my eyes. At the same time, if you’re in an emergency, and you need to quickly brace yourself, wouldn’t it be helpful if the support was an eye catching color? So yeah.
 Next up were the toerails. In an infuriating case of bad design, the toerail is between half an inch to a full inch in from the hull. It’s not uniform, and it’s not flush, so that bothers the hell out of me. I recognize that toerails are an important safety thing. I don’t like the look of wood, as a general rule, but I can’t afford to replace them with aluminum. Plus, with my luck, the bolts wouldn’t come out anyway. So instead, I decided to epoxy some plywood around the side to the existing toerails. Then I’ll sand them smooth and flush, and then fiberglass over the entire thing.
 Mikaela and George offered to help with this. Mikaela mixed up the thickened epoxy, while George and I spread it on the toerails, then clamped the wood on. I didn’t have nearly enough clamps, but luckily, Home Depot had boxes of these two dollar clamps.
Naturally, the next day, rain was in the forecast, so Lauren and I rushed to seal all the new wood with epoxy. I’d be so pissed if the brand new wood started to rot.

 Months later, after the aft cabin was gutted and I could actually reach things, I decided to cut the notches for the swim ladders. I won’t actually install them anytime soon, but now was the perfect time.
In a slightly related issue, the deck drains work, but sometimes leaves and random debris plug the drain grate. This causes water to fill the deck. I don’t have any limber holes (yet) so the water has no where to go, until it fills up the 2 inches needed to go over the toerail. My theory is the metal drain isn’t sealed properly, so when there’s a lot of standing water, the water leaks around the drain, into the engine compartment bilge.

 I mention this, because that was the main reason I wanted to cut out the toerail for the ladder now. It’s mostly level with the drain, so now, if the drain plugs, the water will just leak out the notch.
Anyway, we drilled the mounting holes, filled with thickened epoxy, and added thickened epoxy to smooth out the deck / hull joint, so now the water has a nice smooth easy access off the boat. This area will be fiberglassed later, anyway. Also, look at how much access I’ll have to the bolts?

 Onto minor things: I trimmed the bow toerails to make room for the bow roller when I get one. The original toerails mounted to the metal nose of the boat.
Added fairing to some cracks on the bow.


 Enlarged the hole for the bow navigation lights to fit the new LEDs.

 The aft navigation light has this stupid bevel that’s in the way, so I had to make a little spacer. I epoxied that on and sealed it. I’ll add fairing to smooth it out, but I might as well wait and do it when I do the toerails.

So it turns out that if you take off the latches and hinges of the new refrigerator, it just BARELY fit through the door. I was actually planning on cutting a hole in the roof, and lowering it in. This is much better.
Plus I love this refrigerator. It’s a dual zone, so you can set one side as a freezer. But the best part is that it works off of both 12v and 120v, with smart switching. When connected to shore power, for instance, you can run it off of 120, and as soon as you disconnect the shore power, it will switch to the 12v side. It’s awesome.
It’s also nice to have cold Gatorade available while working on the boat.
 After the sanding and fairing and sanding, I applied some primer, and the paint. I didn’t like the finish and more imperfections showed up, so I ended up sanding it more. Then the rain hit, so I had to stop. I added primer to protect the fiberglass. But this will give you an idea of the color the boat will be when I’m done.
I still need to add more fairing, and more sanding. I need to get the rest of the chainplates off, so I can finish the toerails, because the chainplates are in the way of where the fiberglass will go. Once the toerails are done, then I can start sanding and painting the outside of the boat. That will be a huge milestone. But that’s still a long, long way off.
Chris Dantes
My name is Chris. I currently live in Seattle, though I’m formerly from California. I'm a writer, comic, and superhero (allegedly). I complain. A lot. About everything. I also tell jokes.

