Sail Pack/Lazy Jacks Part 1
 Polerys came with a sail bag. It is old. It is falling apart. It needs to be replaced. Eventually, I’ll replace all of the canvas, but the sail bag needed to be replaced sooner rather than later. It was ripping, it was stained, and it was super duper tight, so it was hard to close. Plus, there weren’t any lazy jacks, so lowering the sail was always… an adventure.
I went to art school, so the color scheme of Polerys post refit is black, grey, and red. The first step was getting the measurements. Meanwhile, I researched different ideas for improvements to the SailRite kit. I knew I would use Dyneema for the lazy jacks, à la Sailing Uma. I didn’t want the tension to be on the fabric, so instead, I would add some webbing straps from the boom to the top, and attach the lazy jacks to that. I also didn’t like the idea of having an open end on the aft side of the boom, so I added an angled tail. Lastly, I didn’t like the idea of the sail pack being attached to itself under the sail, between the cars. That design meant that if I needed to take the sail off, I’d have to take the sail pack off as well. Instead, I’ll mount it to the boom itself.
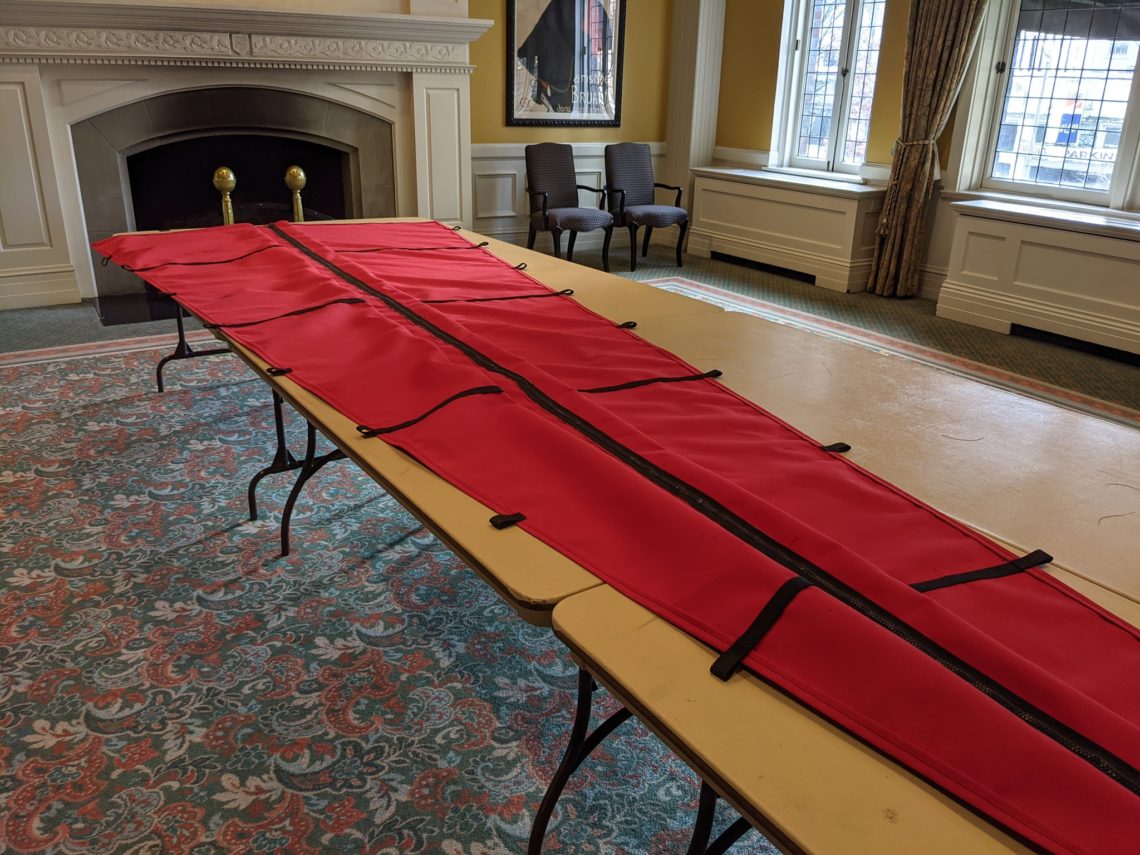
 My job was nice enough to let me use one of the empty banquet rooms so I had plenty of room to work. I laid out the fabric, and copied the measurements and design onto the fabric. My chalk pencil didn’t show up on the fabric, so I used a marker. I tested it first, to make sure it didn’t leak through.
Then I stared at it. I was glad that I had plenty of left over fabric, but not quite enough to recut it, should something go wrong. I just looked at it. Double checked my measurements. This had to be correct the first time.

Confident in my measurements, I warmed up the hot knife. I’ve never used a hot knife before, but it worked pretty smoothly. I think the key is to go slowly. And be sure you have a metal ruler or something below the cut, so you don’t melt the table or whatever.
 Here’s a fun thing about me. Everything I do, doesn’t work the first few times. I go to run an update on my computer, and my computer crashes. I go to tie my shoes, and the laces break. I go to start my car, and the battery is dead. It’s always something. It’s like in a previous life, I was the one who ruined Murphy’s life, causing him to create Murphy’s Law.
So I get everything cut out, and I’m ready to sew it. I spool up the bottom thread thing. I feed the thread through all of the special levers and loops. I put the fabric through… and it jams. Almost instantly. My machine just looks at me, and is all “lolno”.
Such a great way to start my first big project of the boat.
 A couple of months ago, when I was starting to think about doing this project, I asked for advice on a local Facebook group. Someone named Blake Rafferty, offered to do it for me for a reasonable price. He also was willing to rent his super duper sewing machine.
I know I do need to invest in this machine at some point, but it’s a thousand dollars, and I have more pressing needs. Anyway, Blake rented the machine for only $50 a day, which was totally worth it.
And we’re off to the races.
 I started by sewing the loop for each of the webbing straps. I’ll have 10 mounting points on the bottom of each side to attach to the boom. Of those 10 mounting points, 4 will go all the way to the top, with a D ring on each, to which the lazy jacks will attach. Once the bottom loops were sown (I kept the tops open just in case), I then sewed them onto the bottom seam.
Everything was lined up, so I used the hot knife to cut slits for the top of the webbing to feed through. I added the D rings a little higher than that point and sewed them in. Then I sewed the longer webbing straps to the sides of the sail pack.
 Next up was to sew the pocket for the batten. It’s at this point that Murphy’s Law came roaring back. One of the D rings moved slightly, and the needle hit it and snapped. No big deal. There were plenty of extra needles. I installed one, rethreaded the machine, and continued on my way.
The thread snapped. So I rethreaded the machine and continued. Made it a foot, and the thread snapped again. Repeat that over and over and over again for almost 4 hours. Clearly I was doing something wrong. Did I break dude’s machine? I hope not. I got super frustrated, and gave him a call. “How much for you to finish this for me?” I was ready to give up. He was nice enough to stop by the next day and take a look.
 Turns out there is a groove on the needle. I thought I had it facing the correct way, but needles are tiny, and the lighting wasn’t ideal. The lower hook would fray the thread a little at a time each stitch, until the thread snapped. It was an easy fix. I figured, while he was there, might as well make it worth his while, and so we tag teamed the project.
Blake ran the sewing machine, while I ran the double sided tape. Got the zippers attached and lined up. By 2 pm we were done with most of it.
 Next we made a little removable flap to go around the mast. I have two winches on each side of the mast, and rather than worry about sewing reinforced circles, I went the simple route.
The one mistake that I made was I forgot the dacron for the batten corners. I mean, I knew about them, but then the sewing machine started acting up and I got distracted. By the time Blake reminded me about that, it was too late. I think I have a solution, or at least a temporary fix, but that will be in Part 2.

The last step was to attach the twist locks to the webbing. The hot knife was too large for this, so I found a flat bit for my soldering iron, and used that. It was pretty simple, once I got it all figured out. Side note, yes, I know the webbing is too small. The kit is designed for the twist locks to attach to the webbing on the other side. Since I’m attaching them to the boom, I had to rotate them 90 degrees, and didn’t take that into consideration. I’m optimistic that it will be fine.
In Part 2, we’ll tackle the lazy jacks and actual installation. Special thanks to Blake for helping out. He really saved my weekend.
Chris Dantes
My name is Chris. I currently live in Seattle, though I’m formerly from California. I'm a writer, comic, and superhero (allegedly). I complain. A lot. About everything. I also tell jokes.


One Comment
Pingback: